How to Fix Torn Screen Door Mesh Yourself
A tear in your screen door mesh doesn’t mean you need a full replacement. With a few simple tools and techniques, you can repair it yourself and extend its life. Whether it’s a small hole from daily wear or a larger rip from pets or kids, these DIY solutions will help you restore your mesh without breaking the bank.
When to Repair Instead of Replace
Not every tear requires a full screen replacement. Repair your mesh if:
- The hole is smaller than 3 inches.
- The mesh is otherwise in good condition.
- You want a temporary fix before a full replacement.
For extensive damage or fraying across multiple areas, a new DIY kit may be a better option.
Tools and Materials for Quick Fixes
Keep these supplies handy for fast screen door mesh repairs:
- Scissors
- Screen repair patches (adhesive or fiberglass)
- Clear nail polish or fabric glue (for sealing small holes)
- Replacement mesh scraps
- Needle and nylon thread (for stitching temporary fixes)
DIY Repair Methods
1. Adhesive Screen Patches
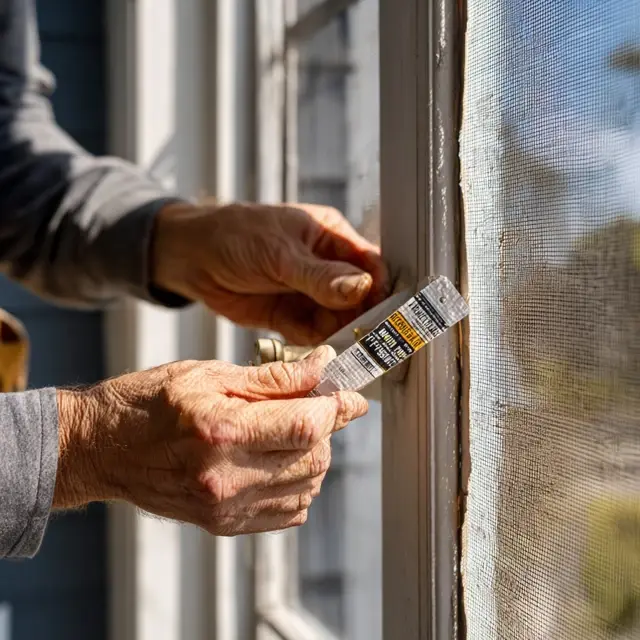
For small tears, adhesive patches are the quickest solution. Simply cut the patch to size, peel, and stick it over the tear. Press firmly for best adhesion.
2. Sewing Repairs
Using nylon thread, stitch small tears closed. This method is strong and effective for high-traffic doorways, though it may be more visible than patches.
3. Mesh Scrap Replacement
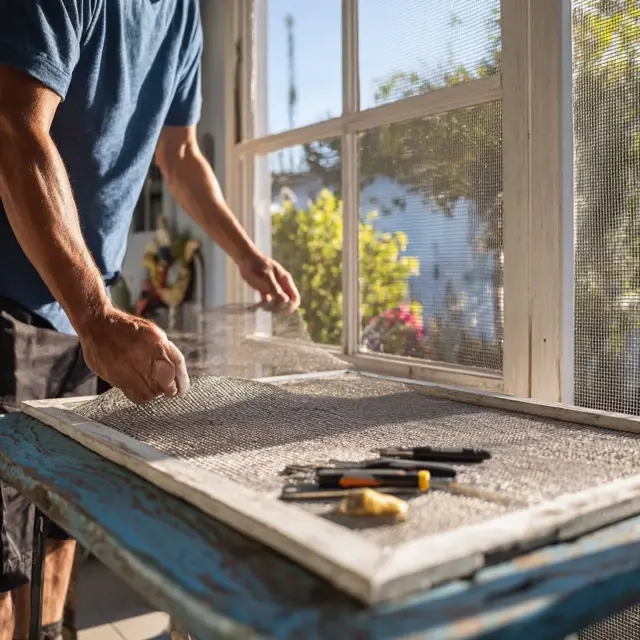
If you have leftover mesh from a previous project, cut a piece slightly larger than the tear. Attach it using fabric glue or clear adhesive tape for a clean fix.
4. Nail Polish Seal
For pinholes or tiny tears, apply clear nail polish around the edges to prevent further fraying. It’s a quick and inexpensive trick for minor damage.
Step-by-Step for Larger Tears
- Clean the mesh area to remove dust and dirt.
- Cut the tear into a neat square or rectangle for easier patching.
- Place a patch on both sides of the mesh for stronger reinforcement.
- Press firmly and smooth edges to ensure the patch adheres properly.
Tips for Professional-Looking Repairs
- Trim loose threads before applying patches.
- Match the patch color to your existing mesh for a seamless look.
- Use high-quality adhesive patches that withstand weather exposure.
- Repair tears as soon as possible to prevent them from spreading.
Maintaining Your Repaired Mesh
After fixing your mesh, extend its life with regular care:
- Vacuum the mesh monthly to remove dust and pollen.
- Wipe gently with a damp cloth to prevent buildup.
- Check repairs each season and reapply patches if needed.
Conclusion
Repairing a screen door mesh is a simple project you can handle in minutes. From adhesive patches to quick sewing fixes, these methods keep your mesh functional and your home bug-free. For situations where repairs aren’t enough, explore our DIY screen door mesh kits guide to find cost-effective replacements.


