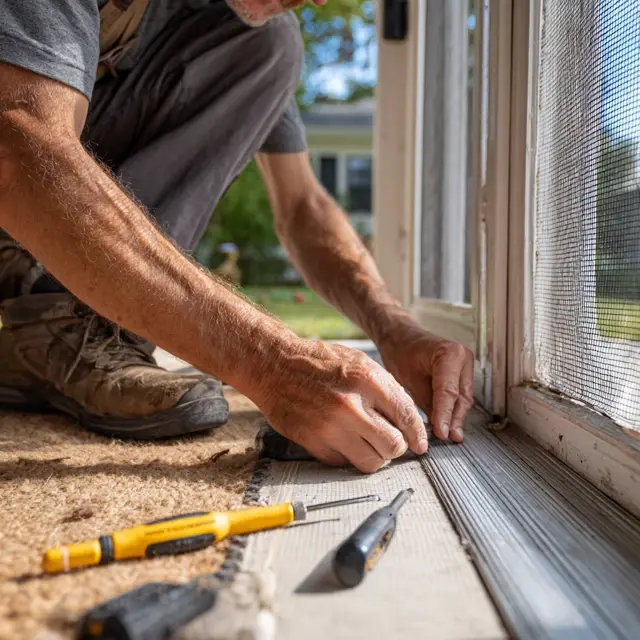
Step-by-Step Guide to DIY Screen Door Mesh
Installing your own screen door mesh is a simple project that can transform your living space by keeping fresh air in and insects out. With just a few tools and a little patience, you can achieve professional-looking results at a fraction of the cost. This guide breaks down every step so you can confidently install your DIY screen door mesh without guesswork.
What You’ll Need
Before starting, gather the necessary tools and materials:
- Screen mesh fabric (fiberglass, aluminum, or polyester)
- Frame kit or pre-cut strips
- Measuring tape
- Spline and spline roller (for securing mesh)
- Scissors or utility knife
- Adhesive strips or fasteners (optional)
Step 1: Measure the Door Frame
Use your measuring tape to determine the exact dimensions of your doorway. Add about one inch on each side to make sure the mesh covers the entire opening.
Step 2: Prepare the Frame
If using a DIY frame kit, assemble the frame according to the instructions. For custom projects, cut your strips to size and connect them with corner brackets. Always double-check that the frame fits the doorway before attaching the mesh.
Step 3: Cut the Mesh
Roll out the mesh fabric and place the frame on top. Cut the mesh slightly larger than the frame so you have extra material to secure it firmly. This prevents gaps that insects could slip through.
Step 4: Attach the Mesh
Starting at one corner, press the mesh into the frame’s groove using a spline roller. Work your way around, pulling the fabric tight to remove wrinkles. For adhesive or magnetic kits, line up the mesh evenly and press into place, smoothing as you go.
Step 5: Trim Excess Material
Once the mesh is secured, trim any excess fabric along the edges with scissors or a utility knife. A neat trim ensures a polished, professional finish.
Step 6: Test the Fit
Install the frame into the doorway and test it by opening and closing multiple times. Make sure the mesh stays taut and that no gaps are visible around the edges.
Tips for Success
- Work on a flat surface to keep the frame aligned.
- Pull mesh evenly to avoid sagging in the center.
- For high-use doorways, reinforce with extra fasteners.
- Choose darker mesh colors for better visibility and reduced glare.
Common Mistakes to Avoid
DIY projects can sometimes go wrong if you’re not careful. Watch out for these pitfalls:
- Measuring incorrectly—always double-check your numbers.
- Cutting mesh too small, which leaves gaps.
- Skipping reinforcement in high-traffic areas.
Maintenance After Installation
To make your screen door mesh last longer, clean it monthly with a damp cloth or a handheld vacuum. Store removable mesh panels indoors during the winter to prevent damage.
Conclusion
Installing a DIY screen door mesh doesn’t require advanced skills—just the right tools, careful measuring, and patience. By following this step-by-step guide, you’ll enjoy a cooler, more comfortable home without insects interrupting your peace. For more design options, explore our DIY screen door mesh kits collection to see which type works best for your doorway.


